
Last weekend we took our new young Pony Clubbers to their first rally- a horseless rally. It was a great idea for the little kids to learn about rallies without having the stress of taking care of their actual pony.
My story is a little different, because I joined Pony Club later, when I was about 15. I never got to attend a horseless rally (which, in hindsight, is a big regret because you get to make your own stick horse). I vividly remember doing research before my first rally trying to find an explanation of how it was different than a normal horse show, what I should expect, and how I should prepare. I did not have much success- there were no easy-to-follow guides about what to expect at a rally.
I hope to change that with this post. (By the way, the Pony Club Horse Management Handbook was the only detailed source that I could find, but it is very overwhelming! The 2019 version is linked here– you may have to be logged into your Pony Club account to view it.)
I will do my best to create a rally guide that will make you a little less nervous before your first rally. With Pony Club, the number one rule is to always be over-prepared rather than go in blindly… that would not end well.
Here’s what you need to know:
Preparation is Key
- The first thing to know is that the preparation for a rally requires almost as much time and effort as the actual rally day.
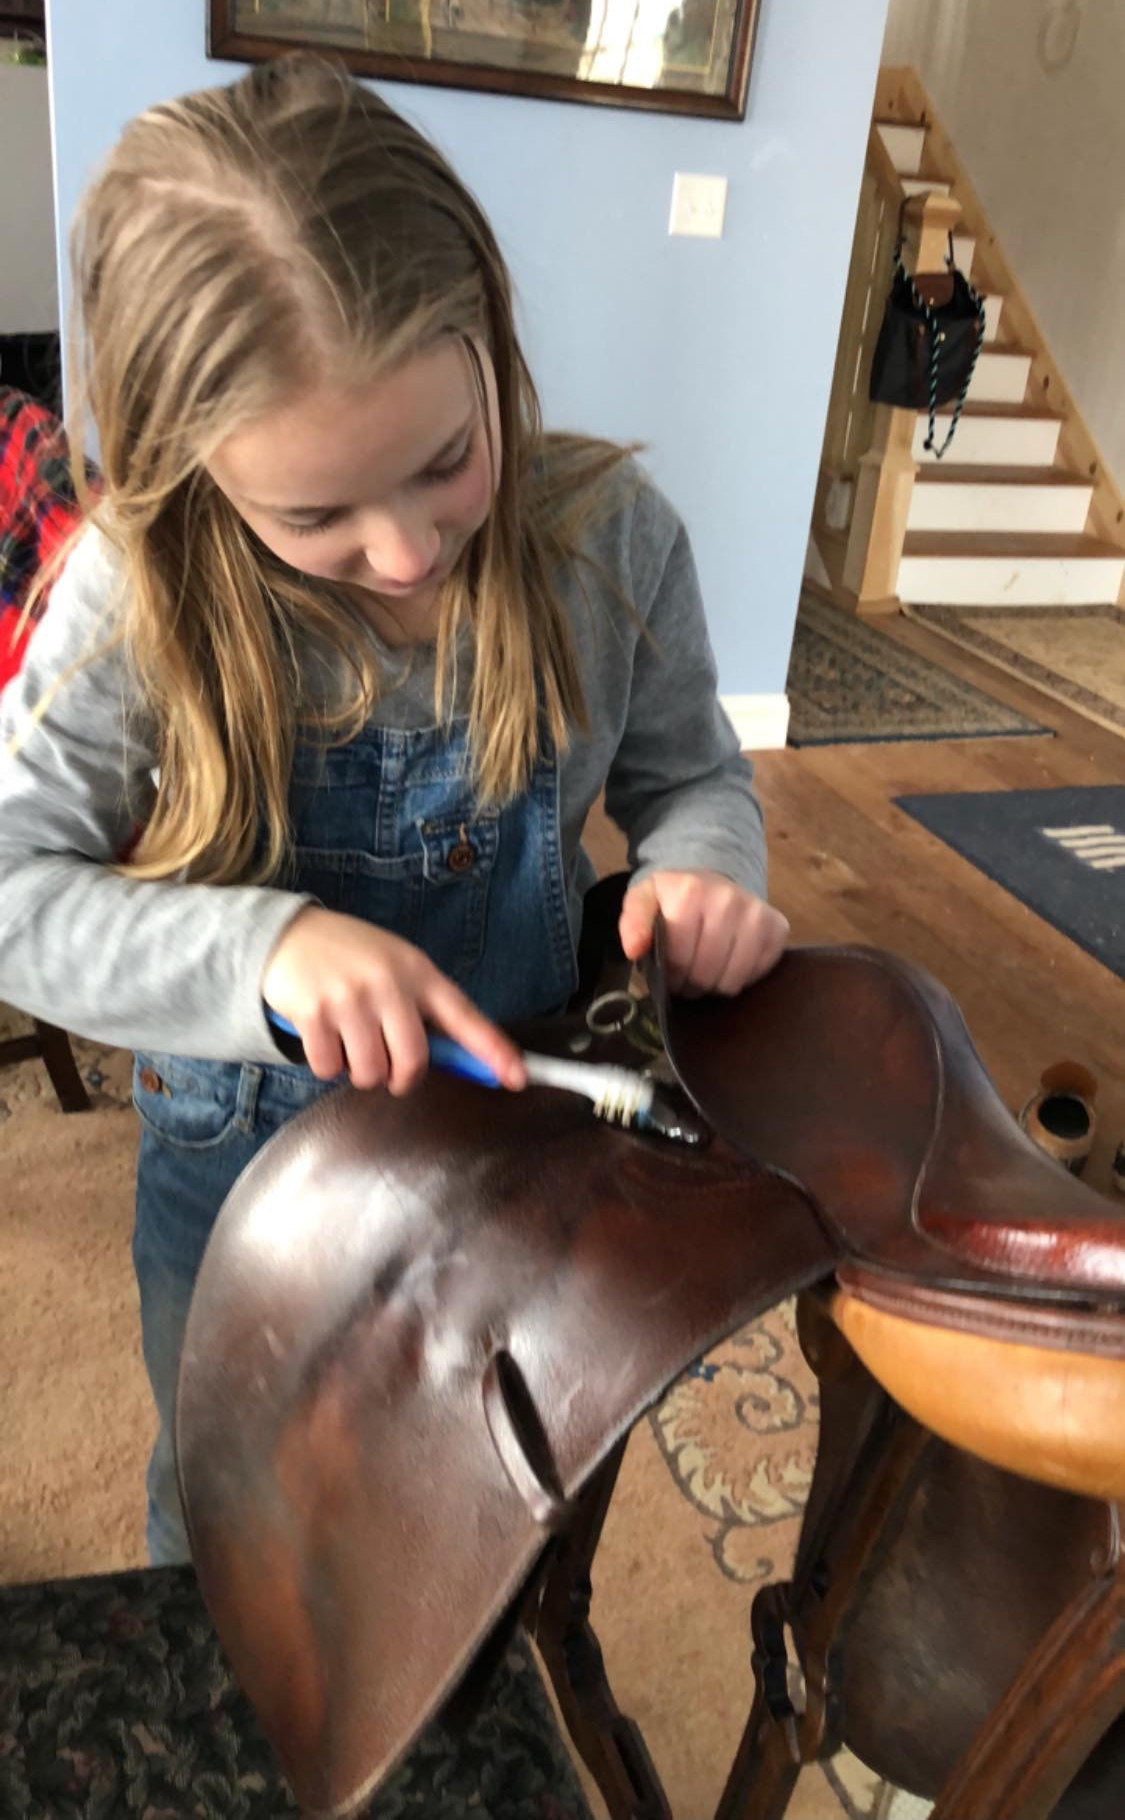
- You want all of your tack as well as your horse to be cleaner than you think it should. Unlike a normal horse show, where you just want you, your tack, and your horse to be presentable, there will be people checking your tack and horse *up close* for cleanliness at a Pony Club rally! They will check everywhere– from looking inside the tail for dandruff to the edges of the bit to the bottoms of your boots. Clean everything as if your life depends on it!
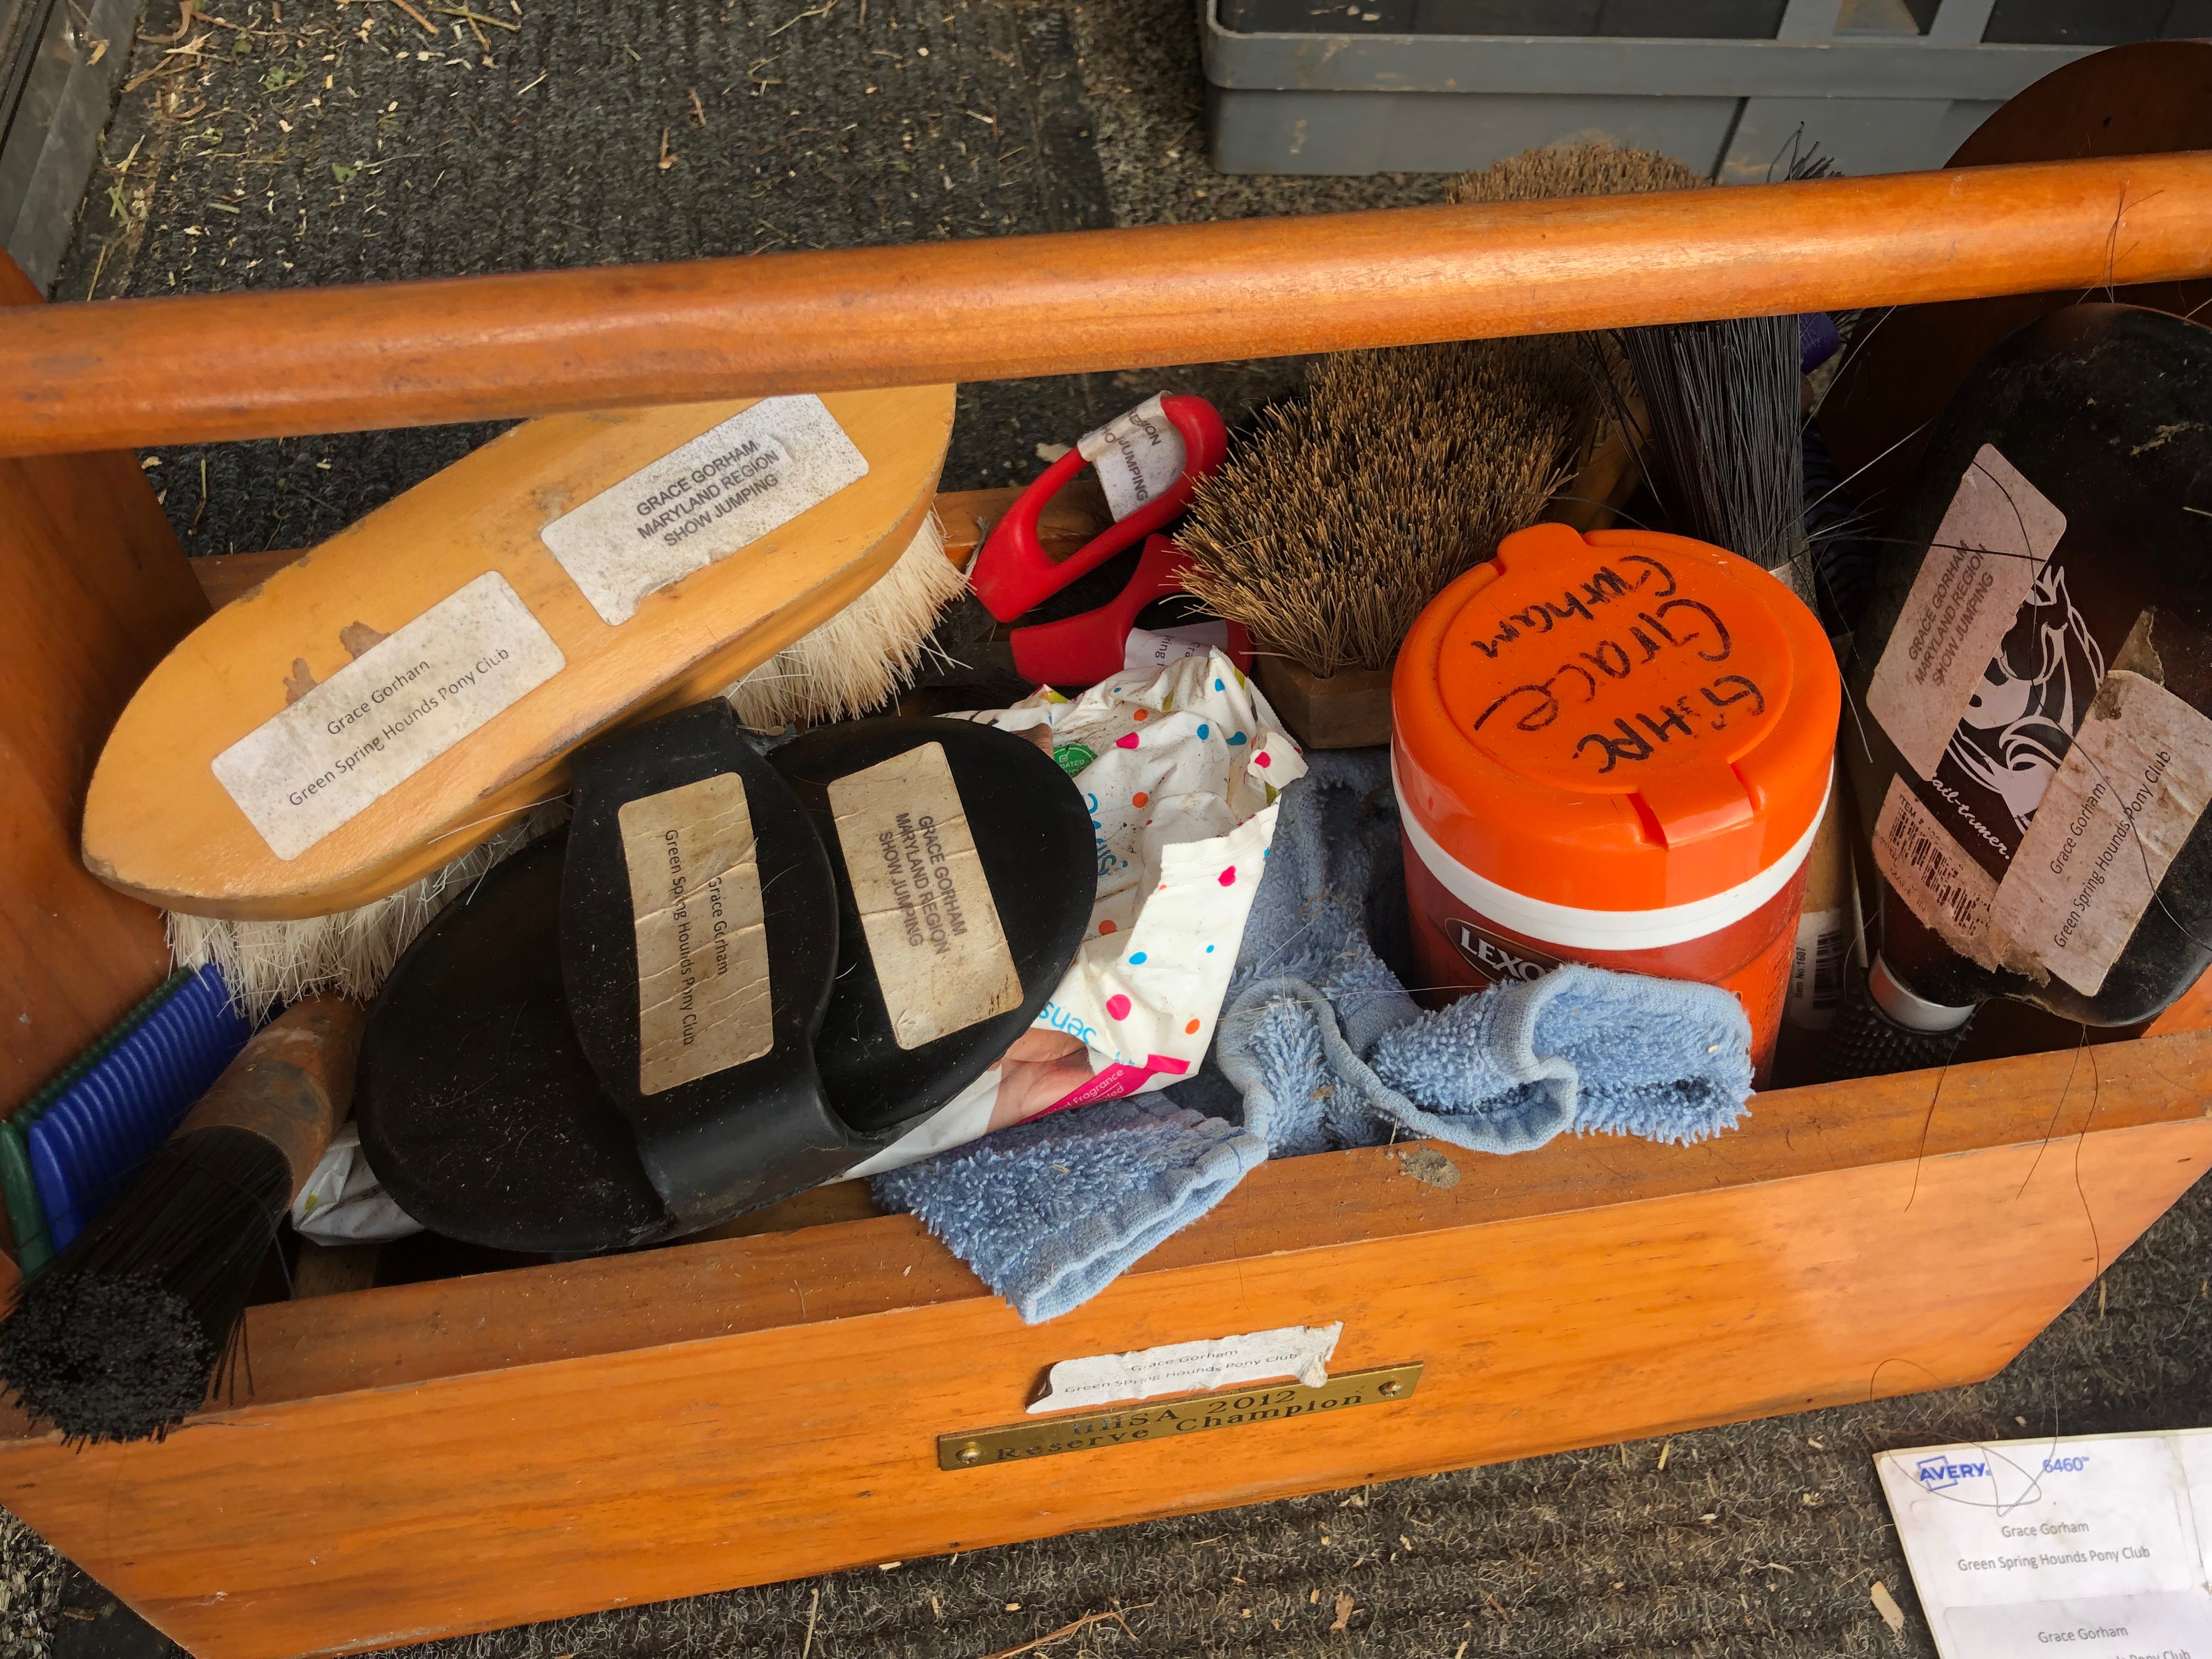
- Label everything that can be labeled. For my first rally I labeled literally everything- my tack, my garment bag, and each individual item that wasn’t even required by Pony Club. Over time, you will learn what doesn’t need to be labeled, but for your first rally, it is best to just label everything rather than get points off. And, there is a purpose to labeling your equipment- more often than not, your teammate will grab one of your towels or brushes as they’re in a rush to their turnout inspection, and having labels makes it much more likely that your supplies find their way back to you! When in doubt, slap on a label. Bridle tags- like these from Dover Saddlery- are helpful for tack, otherwise you can just have stick on labels. Include your name and your club name at the very least- for some rallies and for certain equipment, you also need discipline/team name. There is more info on labeling on page 23 of the USPC HM (Horse Management) Handbook.
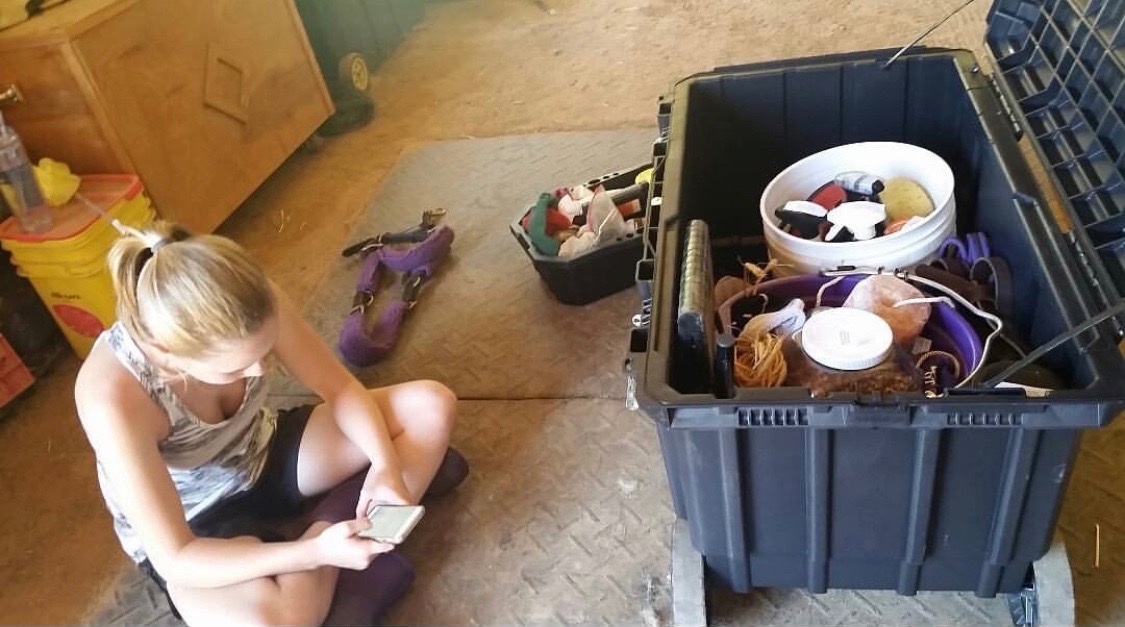
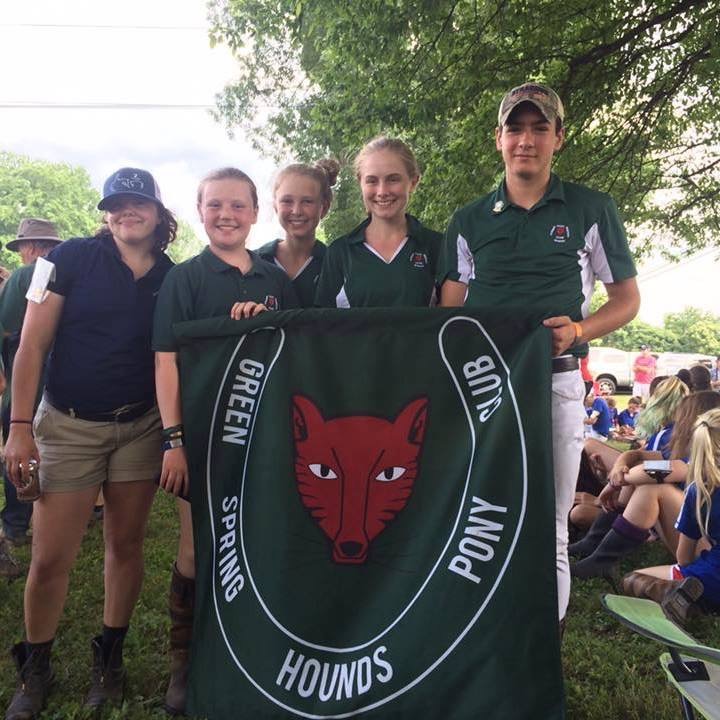
- One of the most important pieces of equipment at a rally is the “rally box.” Hopefully your teammates will help you out by having it already prepared, but basically it’s a box filled with equipment that Pony Club requires to have for your whole team. There is just one box for all three or four riders on your team; each person does not need to have their own. It is helpful for team members to get together and go through the rally box to make sure nothing is missing before a rally. There are several kits in it like first aid and tack cleaning, as well as some extra tack. There are lists of required equipment online- here is a link to make your life easier! Make sure your team has all of it, and if it is individual equipment, make sure you have it, because the HM judges will come around to make sure you have all of the required equipment.
Set Up Upon Arrival
- When the day finally arrives, the first thing you want to do at a rally is set up your trailer area. If there’s anything you need a parent’s help with, get their help now before they leave you for the day! No parents are allowed in the competitor area beyond the arrival time. Once the parents leave, the kids are solely responsible for their own schedules and horses.
- Your teammates should help you set up the trailer area in a way that is workmanlike. Make sure your tack area is set up in a way where everyone can easily access everything they will need throughout the day. You’ll have your rally box and required equipment out, extra tack hanging up, and your own tack and grooming supplies set up. It is also important to have a stall card for your mount already filled out. Another set up tip is to have a schedule with times already written down that you can hang up at your tent, so your team can keep track of where they need to be. There is additional info on tack room set up on page 22 of the USPC HM Handbook.

The Rally Begins!
- The first thing you will go to at a rally is the briefing. This is where the organizers and HM judges gather everyone to go over anything that needs to be addressed regarding the rally, and the competitors and parents can ask questions. Oftentimes they will also have helmet checks here, where each rider has their helmet checked to make sure it fits properly. Wear your helmet to the briefing, and make sure you are wearing your medical armband/bracelet and Pony Club pin.
- After the briefing, the rally will officially start , and it is really up to you from there on out to know what you need to do and when. For example, in some rallies, like eventing or show jumping, you will have a course walk that you need to do at some point. The course walk needs to be factored into your schedule for the day.
- All rallies will have a soundness jog. You will be assigned a time for your jog. Be
on timeearly.
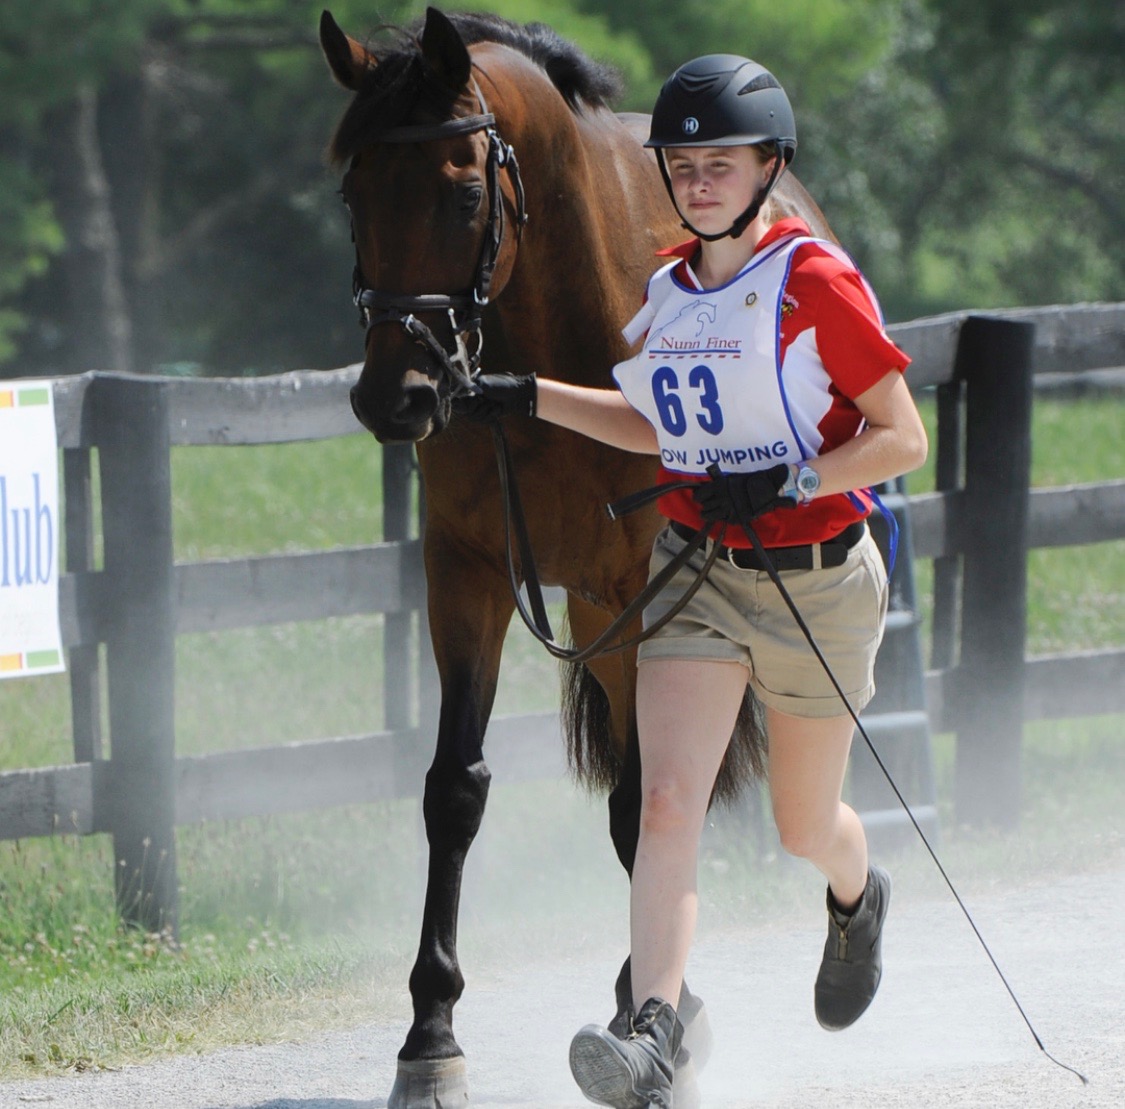
- Next are the turnout inspections. Report to your turnout inspection dressed in your show attire with your immaculately turned out horse. You, your horse, and your tack need to be spotless. Your stable manager (which is a person on your team somewhat equivalent to a groom- check out a more in-depth description here) will come to your turnout with you to help clean up the last minute details. The HM judges will judge your turnout based on the standards of proficiency (SOPs) for your rating (to get more detailed information about the SOPs, check out this FAQ page on the USPC website. Each level and discipline will have different SOPs).

- After turnouts, it’s time to ride! You will meet your coach to warm up and then go into the ring.
- From here on out, everything runs a bit more smoothly. If you have a second ride time (depending on what rally you are attending), you will go to a safety check instead of another turnout inspection, so they can check to make sure your girth is tight and tack is secure.
- At some point in the day, HM judges will come around to make sure your team has all the required equipment and your tack room is set up in a safe and efficient manner.
The End of a Long Day
- After everyone has finished their rides for the day, the rest of the day is mostly just a lot of waiting around and time to hang out and relax with your teammates.
- There is an awards ceremony where ribbons are presented, and then everyone packs up and goes home, after what usually ends up being a 12+ hour day.
I hope this helps you feel a little more prepared for your first rally. There really is no way to feel completely prepared without just going through the experience. And you aren’t alone. Your teammates will be there to help you out, and you’ll have a stable manager as well. My biggest suggestion is to just be as prepared as possible and use your resources. The first place I would look to is your own club members, whether it’s other kids or your DC (District Commissioner). They will be able to answer any questions you have with first-hand experience. The second resource I would use is the HM Handbook. There is definitely detailed, helpful information about what to expect at a rally, even though it is overwhelming in length!
